 MMX Regenesis
Mega Man X Regenesis Hadouken Guide
The 40-chip requirement, the Sigma 1 platform loop, and what to check when the capsule stays hidden.
Start the guide ↓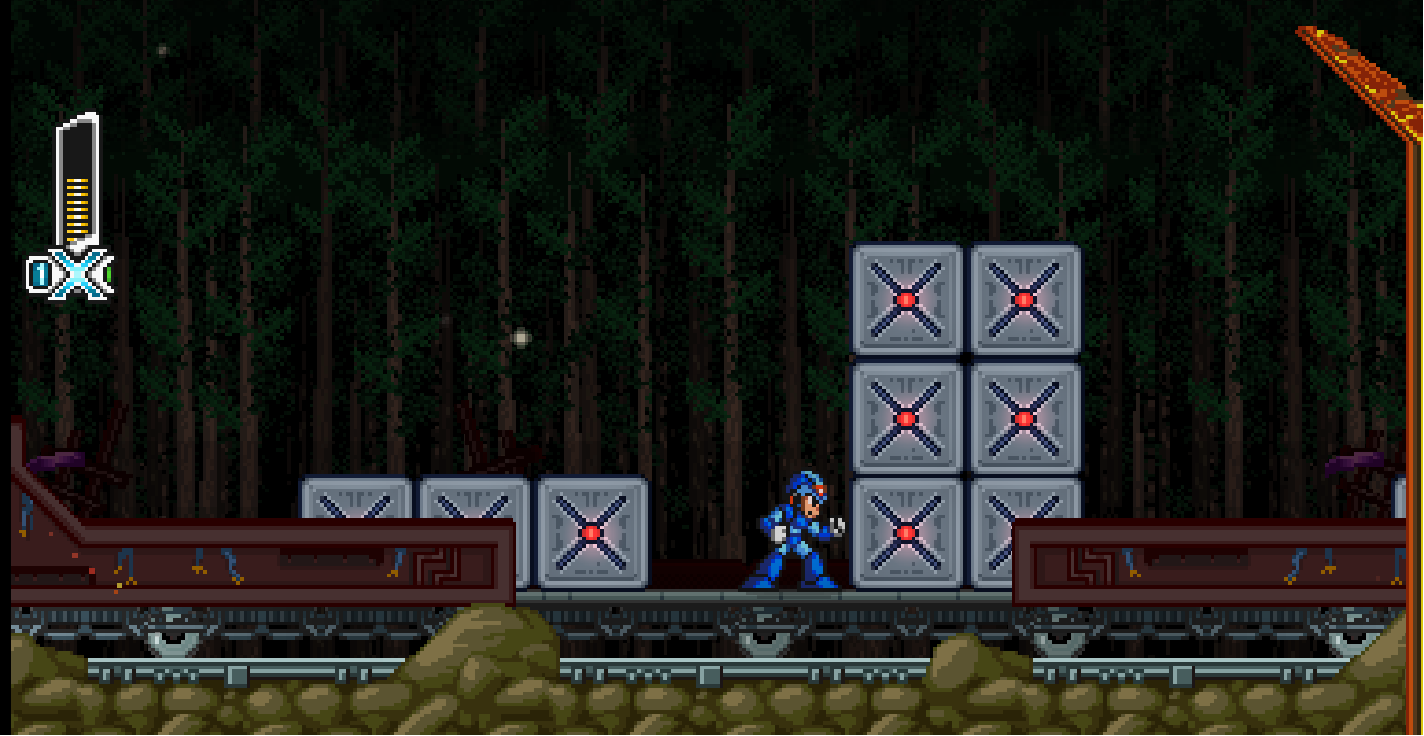
Hadouken is a late cleanup job, not a prize for simply reaching Sigma Stage 1. The fortress route is short once you know it, but the game expects you to arrive with a finished collection run, enough chips left for the capsule, and a little patience for a deliberately repeated platform jump. Treat it as the final stop on a route you have already cleaned up, and the secret becomes much less mysterious.
It is also a useful reward to save for the right moment. Hadouken can clear most ordinary enemies fast, but it does not turn every fortress encounter into a free win. Go in knowing what it is for: a powerful option you earn after learning the stages, not a shortcut around learning them.
Verify the Current Route on Video
The embedded 1.00.9 collection run begins its Hadouken chapter at 40:49. It is useful for confirming the room landmarks and the capsule loop on a recent build. In that run, leaving or dying after reaching the route counts toward another attempt; a zero-death save can check the ledge after one arrival.
Treat the video as a player-recorded reference, not a replacement for the checklist below. The capsule still needs complete Maverick-stage progress and 40 chips, while full health matters when testing the Hadouken input—not as a capsule-spawn condition.
Get Ready Before the Run
You need 100% item completion across the Maverick stages and 40 chips for the capsule. Highlight each stage on Stage Select. The image should say Mission Complete. If one does not, go back there before starting another Sigma 1 climb. Do not rely on memory here. It is very easy to remember the armor capsule you found, then forget the chips or Tank that sat behind a route you skipped.
Use the 100% collection guide if you need the missing capsule, Tank, or movement part.
The 40 chips are a separate check. A full-looking Stage Select does not refill a wallet that was spent on other upgrades. Before you enter the fortress, make a quick habit of looking at both things: every stage marked complete, then enough chips still in hand. That thirty-second pause is better than a long Sigma climb followed by a capsule that cannot be claimed.
The repeat-loop route asks you to die on purpose, so do not bring a run you are emotionally attached to. Check your dash-jump in an earlier stage first. If that movement feels off, the fortress wall is a bad place to relearn it. You do not need a flawless speedrun jump; you only need to land on one high platform consistently. Give yourself a couple of safe practice jumps on the way up and keep your focus on that single landing.
Before You Start Sigma 1
Use this as a final pre-fortress checklist:
- Every Maverick stage shows Mission Complete on Stage Select.
- You have 40 chips after buying the upgrades you actually want.
- You can dash-jump without hesitating over the button timing.
- You are happy to repeat the same short loop several times.
- Start the final loop with full health if you can.
The first two points unlock the opportunity. The last two make the route painless. If one stage is not complete, do not guess which item was missed and hope the capsule will forgive it. Re-enter that stage with a clear target. The collection guide is organized around return routes and movement gates, so it is faster to solve one blocked detour than to replay the whole game on instinct.
The same idea applies to chips. The capsule price is a reason to stop treating every detour as a shopping trip. If a movement upgrade is more important to your current collection route, buy it first and come back to Hadouken later. The secret is not going anywhere, and trying to juggle a chip shortage inside Sigma 1 is just unnecessary friction.
Reach the Hadouken Route
In Sigma Stage 1, climb the outside of the fortress until you pass two large green gunners back to back. Stand on the vertical floating platform, dash-jump left, and land on the high platform above the level's spawn area.
That jump is the route. Practice it once or twice before worrying about the capsule. Start from a deliberate position on the moving platform, use a committed dash-jump, and aim for the broad high platform rather than trying to correct in the last instant. If you cannot land there consistently, you will only be repeating a long climb for nothing.
Do not confuse this platform with a normal side path. It is above the spawn area, which is why the next action looks wrong at first. You have climbed away from the start, then intentionally return toward it through the pit. Once that visual loop makes sense, the route is easy to remember: climb, cross left, drop, respawn, repeat.
If the green gunners and floating platform do not sound familiar, pause the embedded run and compare the room shape rather than trying to match every enemy on screen. Enemy timing can distract you. The landmark you need is the vertical platform and the high ledge to its left.
Use the No-Death Shortcut
If this save has zero game deaths, take the same platform route once and check the ledge. You can skip the repeated fall loop. It is the clean way to collect Hadouken on a run that has stayed alive from the opening stage onward.
If this save already has a death recorded, nothing is ruined. Use the repeat route below instead. Do not restart a good collection save just to chase the shortcut; it saves a little climbing, not the 40 chips or the completed-stage requirement.
Read the Platform Loop
If your save has a death recorded, jump into the pit below from the high platform and let X respawn. Climb back to the same platform, then do it again. The repeat is part of this route, so there is no reason to save the drop with a last-second recovery. Commit to it, return to the starting side, and make the same climb.
Think of the first loop as rehearsal. It confirms that you found the right ledge and that your route back is comfortable. The next loops are not different puzzles. Do the same platform jump, the same deliberate fall, and the same climb. Keeping that rhythm prevents the usual mistake of wandering into another fortress route after a respawn.
Community runs commonly show the capsule on the fourth loop. If it does not show, do one more clean loop before assuming the route failed. Counting aloud or mentally is worthwhile because the loop can blur together: first drop, second drop, third drop, then check the ledge after the fourth. Do not restart the whole stage after every attempt just because the capsule was not immediate.
Trigger the Capsule
When the capsule appears, stop treating the platform as a timing test and take the reward carefully. Start the final loop with full health if you can. It is an easy precaution on a route that already asks you to count repeats. The important work was already done before Sigma 1: complete the stages, preserve the chips, and finish the loop. There is no benefit in rushing the final approach after you finally see it.
Still nothing after the extra loop? The usual culprit is an unfinished stage, not the jump. Recheck Stage Select, especially a stage where you picked up the armor part but left chips behind. The 40-chip cost matters too; the capsule cannot be bought on an empty wallet. Those are separate failures, so fix them one at a time rather than trying to change your jump timing, route, and collection status all together.
Use Hadouken Reliably
The move uses the familiar X1-style input. Test it at full health in a quiet room before you try it on a Boss. If the input does not come out there, it will not come out while you are getting bounced around a fortress room. A calm test also tells you whether your controller or keyboard layout is comfortable enough for the motion. If it is not, adjust your setup before building a strategy around a move you cannot call on demand.
Hadoken is the alternate spelling players also use. Either name points to the same move. It will erase most regular enemies, but do not expect it to solve every late-game problem for you; Sigma is the obvious exception.
A small hit is easy to overlook when you are learning the motion, then blame the input for a failed attempt. Heal before testing, stand still, and give yourself room to see the result. Once it works there, try it on an ordinary enemy that is not pressuring you. That is a better first test than forcing it into a crowded fortress room.
Use the move to simplify a situation, not to gamble your last life. It is especially satisfying when a regular enemy is blocking a route or when you want to remove one threat before a platform sequence. In a Boss room, keep the Buster-first habits from the Boss and weapon guide. Hadouken is an extra tool, not a reason to forget the attacks and positioning that got you there.
Separate Unlock Problems from Input Problems
There are two different ways a Hadouken attempt can go wrong. The first happens before you own the move: no capsule appears, the chip total is short, or Stage Select still has an unfinished mission. The second happens after you own it: the familiar input is mistimed, X has taken a hit, or you are trying it in a room where incoming damage makes the result hard to read.
Keep those checks separate. If the capsule is missing, stay on the route side of the checklist: Mission Complete on all eight stages, 40 chips available, and enough full loops completed. Do not waste time practicing the input because the input has nothing to do with making the capsule appear.
If the capsule was collected but the move will not fire, leave Sigma out of the diagnosis. If Hadouken refuses to fire, heal to full, stand somewhere quiet, and try the input without enemies nearby. When it works in that controlled situation, bring it back into normal play. If it does not, the problem is now clear and small: timing, controls, or a hit you missed. That is far easier to fix than treating every failed attempt as a mysterious secret-route bug.
When It Does Not Work
If the capsule is missing, check Mission Complete on all eight stages, make sure you have 40 chips, and repeat the platform loop. Do not keep changing three things at once. First prove you can land the jump. Then count the loops. Then go back to Stage Select. A missed chip is more likely than a hidden timing trick.
If Hadouken itself is not firing, heal to full and try it from a standing position. That tells you whether the problem is the input or the route. It is usually quicker than testing it in a live Boss fight. If it fires once but not later, look at your health before changing anything else.
One final warning: do not turn the platform loop into a superstition. More attempts are only useful after the actual prerequisites are in place. If you have already made the clean loops and the capsule still refuses to appear, the efficient answer is to leave the fortress, inspect the stage screens, and find the unfinished collection item. That is less dramatic than forcing another climb, but it is how you finish the secret without losing an evening to a bad assumption.
For a route that opens more collection options before the final attempt, see the Boss and weapon guide.
This page is compiled from player community discussions, tested videos, and public guide material. It will be expanded and revised as the route library grows.