 MMX Regenesis
Turbine Facility // Sub Tank
Rooftop Sub Tank
Climb to the red building rooftop after you have the extra jump height.
Need Double Jump
Where to backtrack for armor, tanks, and upgrades once a stage says you still missed something.
Start the guide ↓Route console // known pickups only
Mark what X can do now. The list updates to show which recorded upgrades and Tanks are ready for a revisit, and which route still needs one more tool.
What you already have
Turbine Facility // Sub Tank
Climb to the red building rooftop after you have the extra jump height.
Turbine Facility // Movement upgrade
Follow the falling blocks left after the bird section and wait for the floating platform.
Turbine Facility // Life Up
Dash-jump left after the fans, then use a height tool to keep climbing.
Geothermal Power Plant // Life Up
Take the upper path at the mid-stage 1-Up and keep moving around the spike crusher.
Geothermal Power Plant // Weapon upgrade
During the zigzag lava descent, look left for the false wall with gaps and a visible life refill.
Forest Railway // Life Up
After the Ride Armor, climb the car to the right and cross back over the first train group.
Forest Railway // Movement upgrade
Return with Flare Burst to break the flammable canisters sealing the capsule.
Waterfall Caves // Movement upgrade
Climb the two green gunboats without sinking them, then continue up-right.
Waterfall Caves // Life Up
Leave the second gunboat alive, drop below it, and take the narrow spike corridor.
Frozen Ruins // Sub Tank
Shoot the far-left wall as soon as the stage begins.
Frozen Ruins // Armor upgrade
At the Ride Armor, climb the wall above it and dash-jump right instead of entering it.
Frozen Ruins // Life Up
Drop through the left gap after the Ride Armor and use a height tool around the ice platforms.
Desert Data Center // Weapon upgrade
Break the left rocks in the first indoor section, then use a height tool for the jump.
Desert Data Center // Life Up
After the climbing sand, check left just past the loose ground chip.
Orbital Research Station // Movement upgrade
Break the three glass tubes before the flamethrower bot, then open the left wall with Cryo Shard.
Orbital Research Station // Life Up
In the time-bomb platform room, fly the Ride Armor up through the roof gap.
Orbital Research Station // Sub Tank
Break the cracked floor at the bottom-right of the open room.
Biomechanical Preserve // Life Up
Slide down the right side of the last stair platform in the first acid-drip room.
Biomechanical Preserve // Weapon upgrade
Before the second spider chase, drop into the big gap, stay left, and check the false wall.
This planner covers the confirmed upgrades, Tanks, and revisit paths in this guide. It does not claim to list every individual chip.
Do not turn every first clear into a scavenger hunt. Finish the stage, grab what is on the normal path, and leave a note when you see a ledge or wall you cannot deal with yet. That is enough for now.
The embedded 47:56 run is a player-recorded 1.00.9 reference, organized by all eight Maverick stages and ending with the Secret Boss. Use its chapter labels to compare the room in front of you with the run, not as a substitute for the checklist below. The video records item-location changes, so an older guide or video may point at an empty capsule room.
It is not an official item map, and the official download has moved on since this run. When the footage and your current game differ, record the stage, item, and build number instead of changing a collection route from memory.
Use Stage Select as your first check. A stage with every item and chip found shows Mission Complete on its image. If it does not, do not replay the whole level blindly. Pick one missing thing: a Tank, a capsule, or the chip trail near a route you already know.
The early detours worth taking are the ones that make later detours easier. Get a Sub Tank when it is nearby. Pick up Double Jump, Uppercut, or Air Dash when you can reach them. Save the long spike rooms and the fussy platform chains for after that.
Armor capsules cost chips. Most of the important movement parts cost 15 or 20, so it is easy to find a capsule and realize you spent too freely earlier. Keep the chips until you know which movement part you want next; you do not need to vacuum every corner before the first few clears.
Heart Tanks and Sub Tanks are less glamorous, but they are what make a missed jump worth retrying. A Sub Tank also does not have to be drained in one go, so topping off after a rough room is fine. Take the easy ones on a return trip, then go back for the parts that open another route.
For the final secret move, use the Hadouken guide after your chip and stage checklist is under control. Boss rewards can also open collection routes, so the Boss and weapon guide is the right companion when a blocked path appears to need a particular tool.
The Sub Tank on top of the red building needs Double Jump. The Uppercut capsule costs 20 chips: after the falling blocks and bird attacks, follow the blocks left, then wait for the floating platform at the dead end. It gives extra height and keeps dash momentum, so it immediately pays for itself in this stage. After the wall fans, dash-jump left and use Uppercut to keep climbing for the Life Up.
At the mid-stage 1-Up, take the upper path for the Life Up. You need Double Jump or Uppercut, and the spike crusher keeps moving, so do not stop to admire the view. The Laser Charge capsule is behind a false wall during the zigzag lava descent; look left for the wall with gaps and a visible life refill. It costs 15 chips.
The Life Up is above the first group of train cars after the Ride Armor. Climb the car to its right, then cross back. The Double Jump capsule is nearby but sealed behind flammable canisters, so return with Flare Burst from Arson Vulpine. It costs 15 chips and turns several later jumps from annoying into normal.
The Air Dash capsule costs 15 chips. In the area with two green gunboats, climb along them without sinking them, then keep going up-right past the chip. For the Life Up, leave the second gunboat alive, drop into the water beneath it, and take the narrow spiked corridor. Air Dash makes that part much less miserable. There is another chip just beyond it, so do not exit the stage immediately.
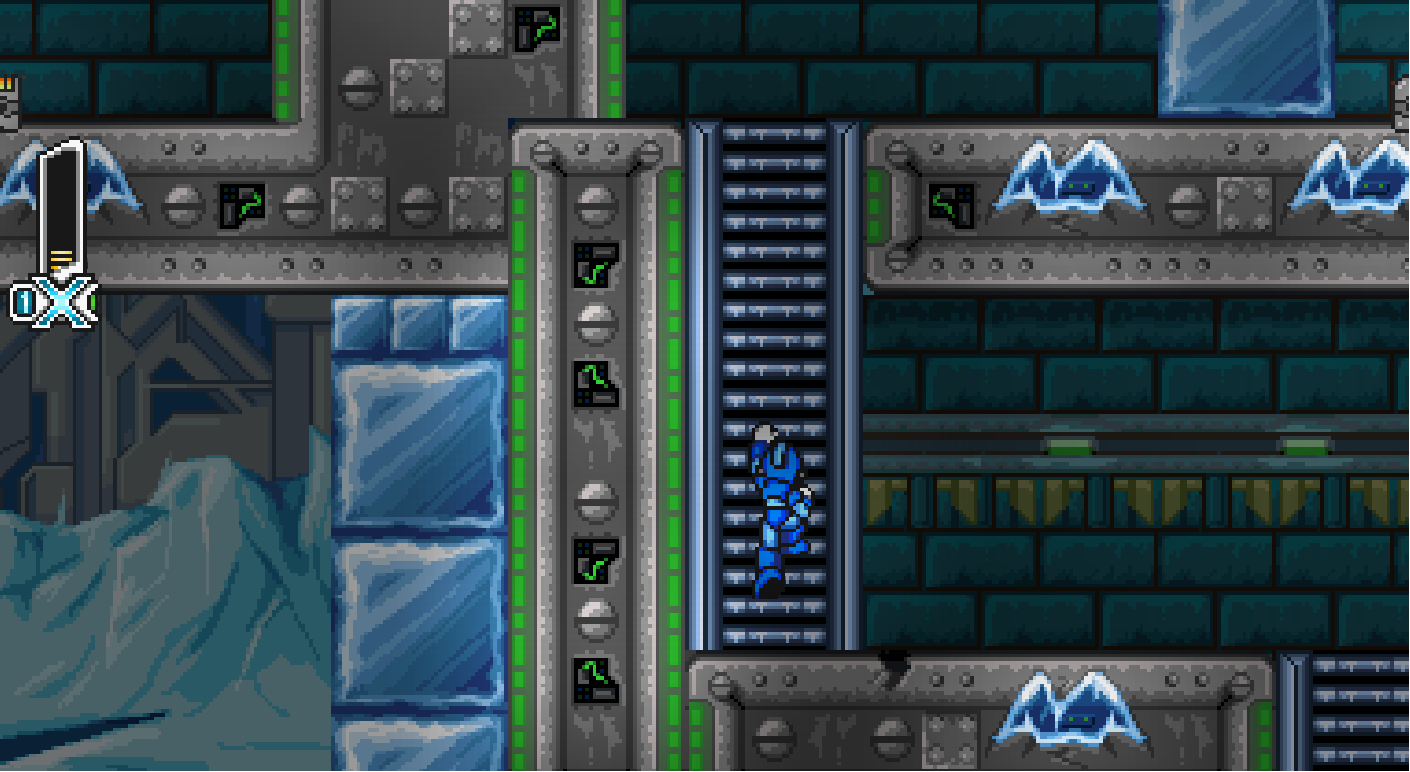
Shoot the wall on the far left as soon as the stage starts for a Sub Tank hidden behind the foreground. At the Ride Armor, do not enter it if you want Shock Buffer: climb the wall above it, then dash-jump right. You need Uppercut or Double Jump. The Life Up after the Ride Armor is down the left gap in the breakaway ice platforms, and it needs the same height tool.
Weapon Charge is the awkward one here. In the first indoor section, break the rocks on the left with Comet Splitter from Stellar Primate, then make the jump with Uppercut or Double Jump. The Life Up after the climbing sand is easier to miss: look left just after the loose chip on the ground. It is hidden behind the sand, not in a separate room.
During the Ride Armor blackout section, break the three glass tubes before the flamethrower bot. The blocked path on the left opens with Cryo Shard and leads to Dive Kick. Later, in the open room with time-bomb platforms, fly the Ride Armor as high as it will go to find the Life Up through the roof gap. The Sub Tank is in the bottom-right of that room behind a cracked floor; break it with Dive Kick.
The stage likes false walls. In the first acid-drip room, slide down the right side of the last stair platform and go through the wall for a Life Up. For Rapid Shot and Quick Charge, drop down the big gap before the second spider chase, stay left, and look for another false wall. That capsule costs 15 chips.
Do not spend an evening trying to force open a capsule route that used to work in an older build. A few upgrade capsules were moved to make the overall route flow better. If a guide sends you to an empty capsule room, stop there and check the current route before you burn through every life on a false lead.
This matters most if you updated an existing save. If a capsule appears but will not finish its pickup sequence, record the stage and move on rather than repeating the same room. A clean save on the current game build is the safer choice for a full cleanup run. Keep your notes focused on the item you still need, not the old room where you expected it.
If a room looks absurd, it probably wants a movement part. Come back after Double Jump, Uppercut, or Air Dash instead of burning ten lives on the same first-clear jump. The hard optional rooms are still there later.
For the final secret move, finish the stage screens first, then use the Hadouken guide. If a weapon gate is what stopped you, check the Boss and weapon guide before making another lap.
This page is compiled from player community discussions, tested videos, and public guide material. It will be expanded and revised as the route library grows.